
So I have had this planned for some weeks now, the camera keeps playing up so I thought I had lost my pictures and would need to make another before I could make the tutorial. Turns out the mister had organised me into a folder!!
Anyway.... this is how I make peg bags, this one in particular has a waterproof lining - we have wooden pegs and I am keen to keep them relatively nice!!! Same as my other tutorials I am rubbish at measurements, I work by eye and how something looks!
This piece of material is probably 30cm by 30cm, not massive but just enough!!

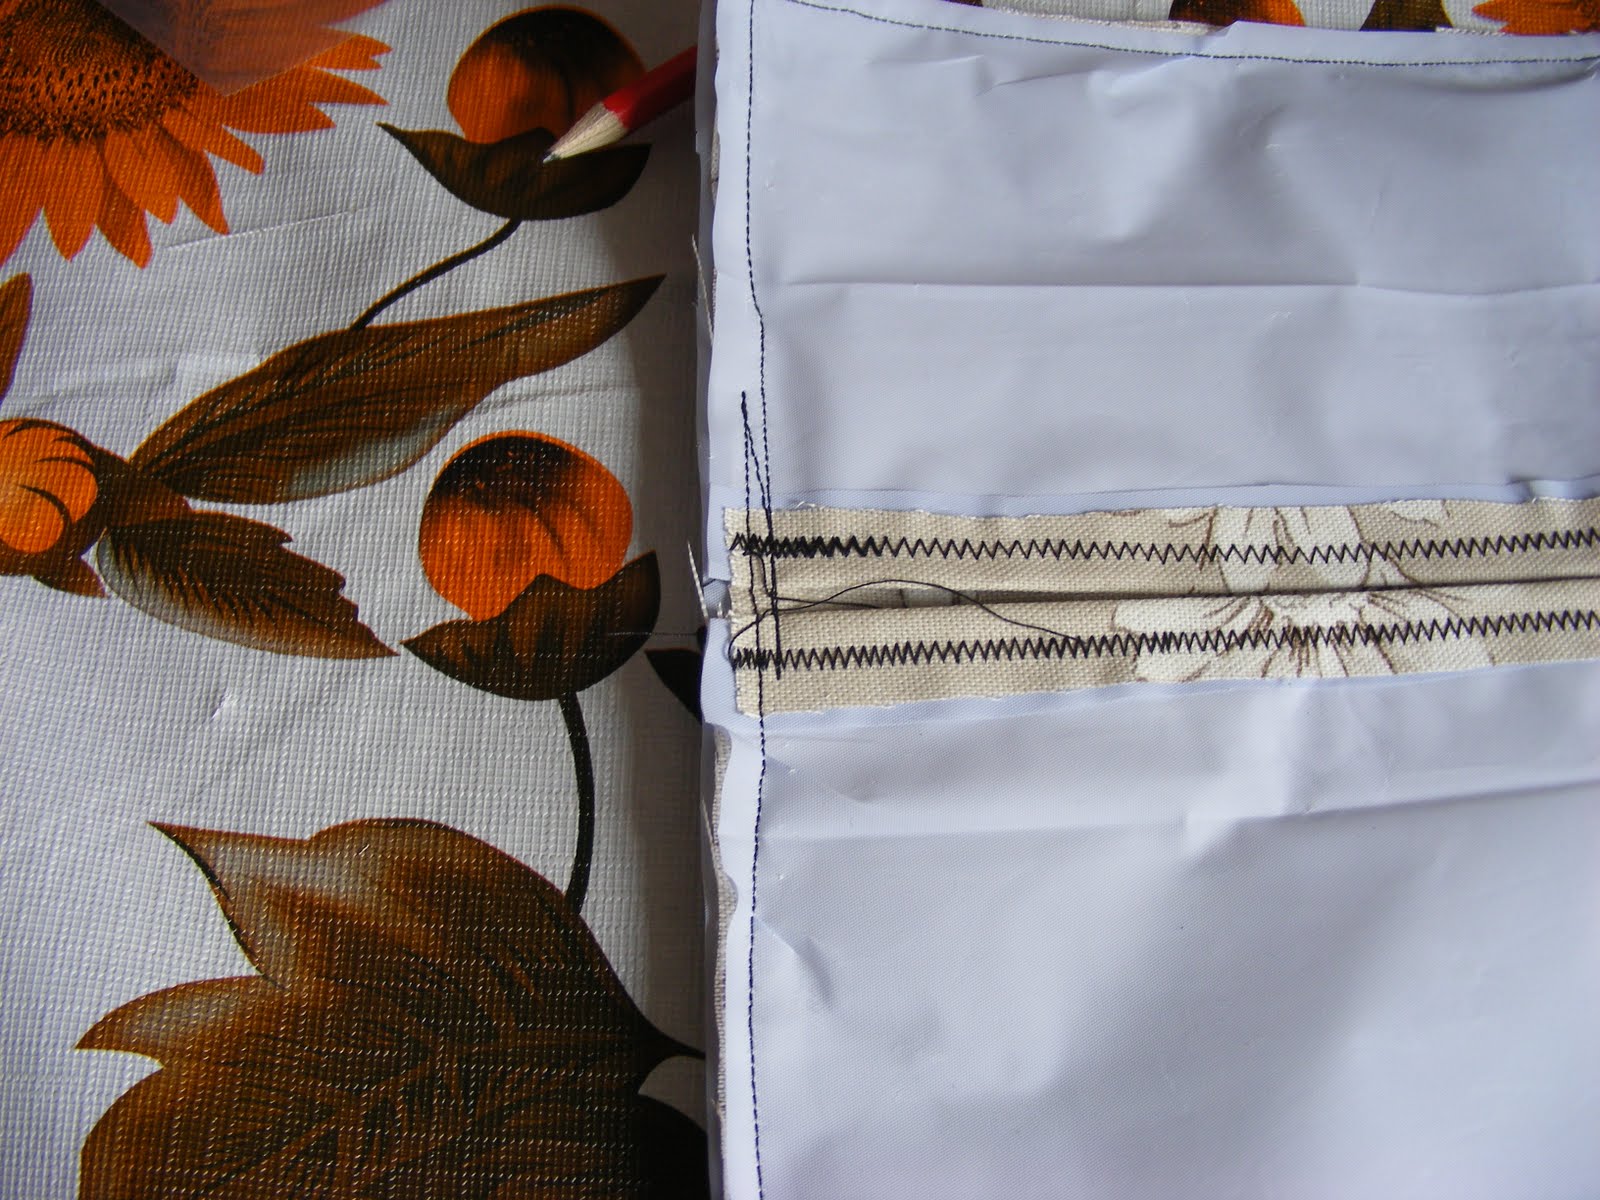
I cut a cheap shower curtain to fit the size. Do these steps twice.

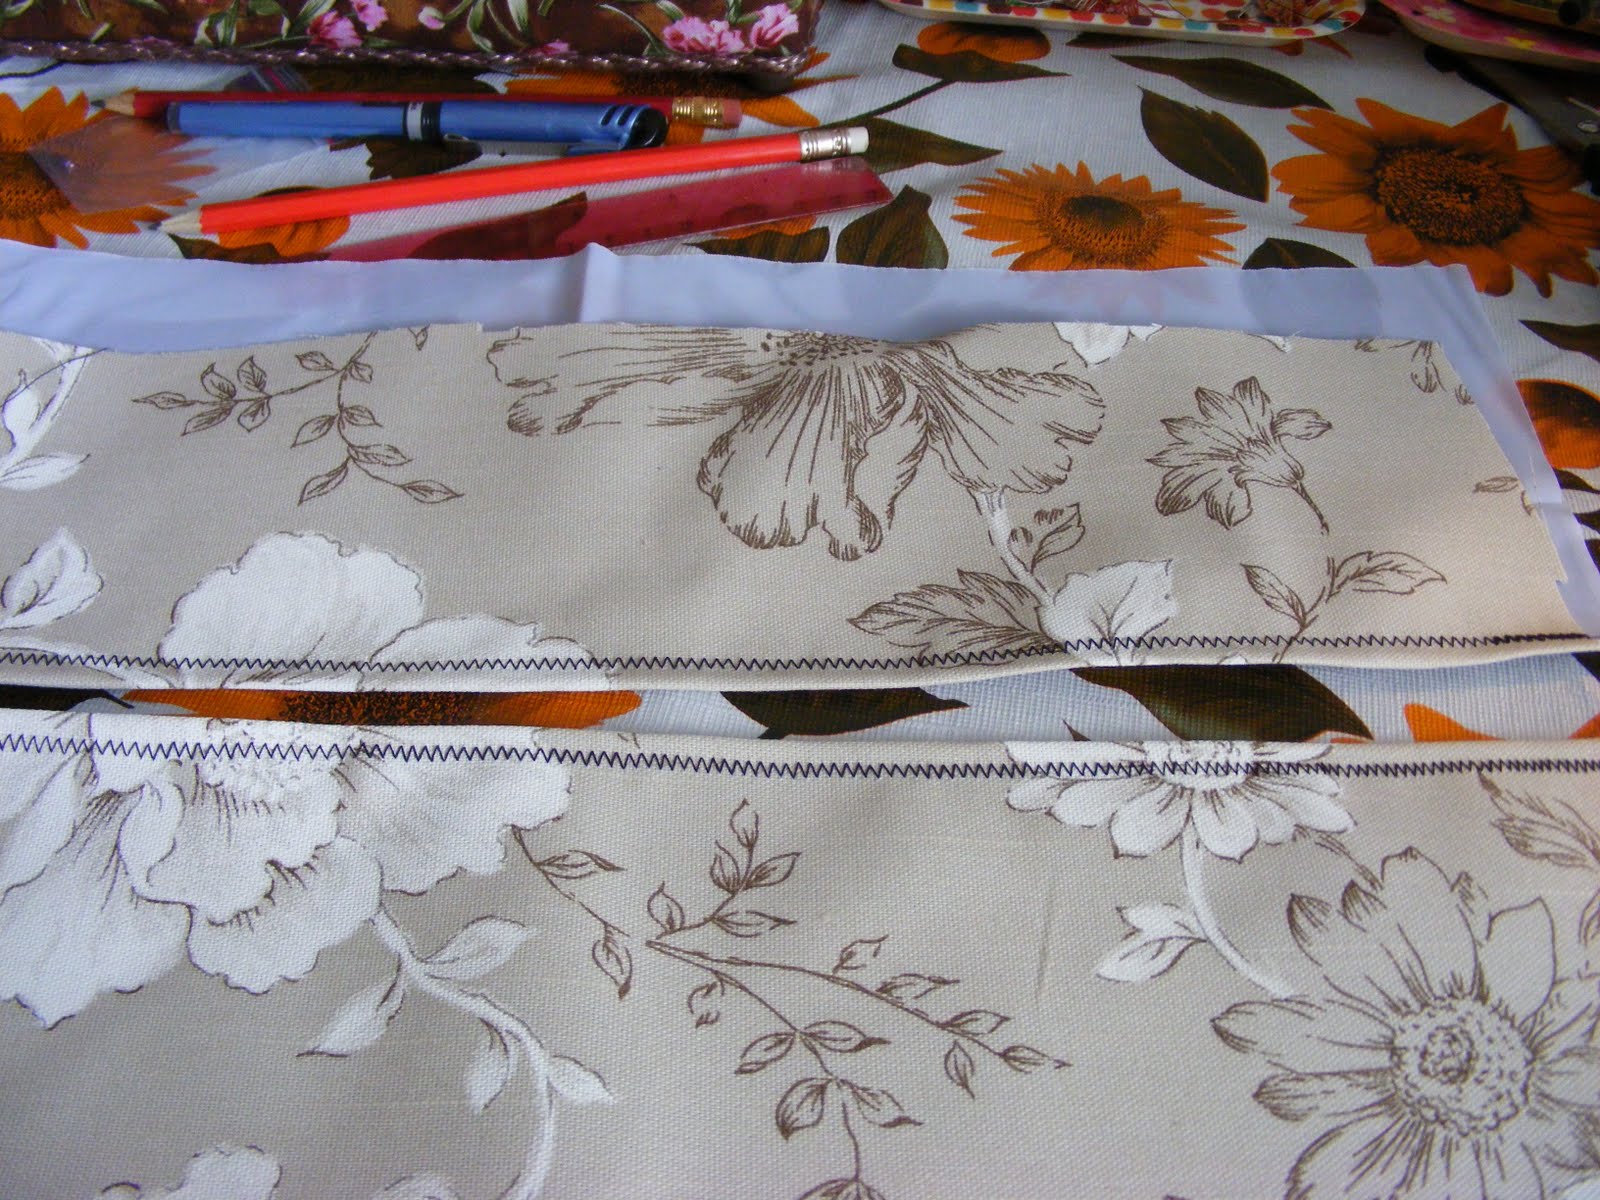
About 10cm from the top I cut one piece.

I then turned the edges over about 1cm to make the hem.

I chose a zig zag stitch so that it was more of a feature as opposed to just there.
I brought the front and back together and pinned so that I could play around with it.

I ended up with a little visitor ....

I double stitched the edges to make sure they held because it may become a weak point if the pegs are particularly heavy.
I just re-used an old coat hanger I had, I needed to break the ends off by about 5 cm because the bag was smaller than the hanger!! You can't notice it though.

Once I was happy with the position I cut the bag to allow for the hanger to come through.

Then, Voila! The bag was ready.
I think I will add crochet flower just to make it a little bit more girly!!

Hey lovely, I found this blog - I don't know if you're seen it before or not but there's a lot of templates and things to make. Looks really good, I need a bit of spare time though! Also mum if you're reading this - you should look too!
ReplyDeletehttp://melissaesplin.com/home/